These battery powered scanners can easily fit in your gear bag for availability whenever you need to quickly scan info from books, magazines, etc.
Hardware Specs
2mb Flash memory
Dual roller guiding system
Twain interface
USB 2.0
Lithium Ion rechargeable battery
Size: 8.5 x .5″
Weight: 20 oz
Dual roller guiding system
Twain interface
USB 2.0
Lithium Ion rechargeable battery
Size: 8.5 x .5″
Weight: 20 oz
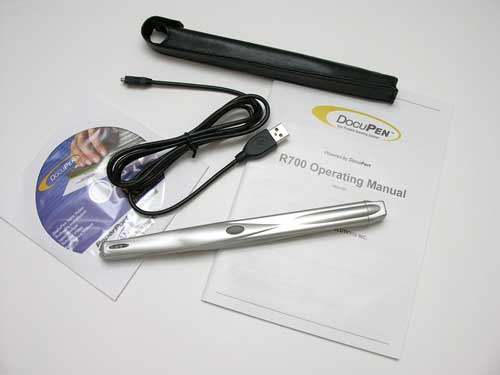
Package Contents
DocuPen portable scanner
USB cable
CDRom installation disks
Instruction Manual
Leather case
USB cable
CDRom installation disks
Instruction Manual
Leather case
The DocuPen R700 is a 8.5 inch long by .5 inch tall plastic bar with one rubber covered button on top.
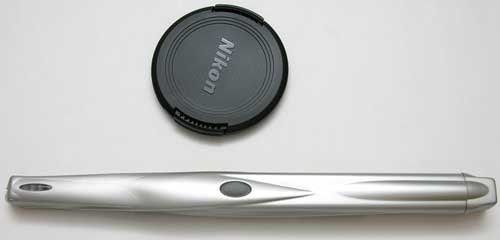
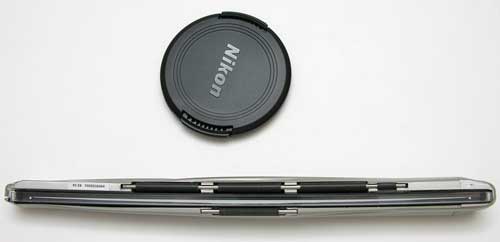
On the bottom are 4 rubber rollers with the scanning window in the middle.
The left side has a set of status LEDs on top and the scanning indicator LED on the outer edge.
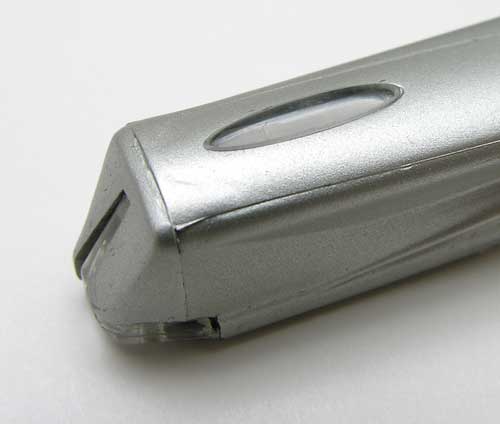
The right side has a proprietary USB connector for the included cable. This cable both charges the internal lithium ion batteries, and allows you to offload the stored scanned images to your PC or Mac computer. According to the FAQ on the DocuPen site, you should be able to scan close to 200 8.5 x 11 documents before needing to charge the batteries. I did find that the DocuPen does a good job at holding a charge when not in use. Even after a couple weeks of inactivity, a recharge was not needed.
The DocuPen handheld scanner uses Energizer #389 High Drain Button coin cell batteries that can be replaced if needed.
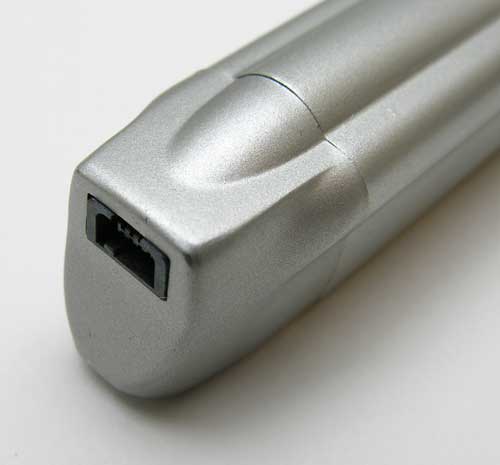
I tested the DocuPen with my 20″ Apple G5 iMac. Although the scanner does not ship with Mac OS X drivers, they can be found on the DocuPen website.
After installing the driver (and charging the batteries), you’re ready to scan a document. My first try was with a page in a MacAddict magazine.
I situated the scanner horizontally at the top of the page with the status LEDs pointing to the left. With one hand you hold on to the top of the document to keep it from sliding around and with the other you press the button on the top of the scanner and then slowly roll the DocuPen straight down the page.
The DocuPen handheld scanner is capable of scanning at 100 dpi and 200 dpi resolution modes. Pressing the button once will scan at 100 dpi. Pressing the button twice will scan at 200.
When you first press the button on the top of the scanner, the LEDs will blink on to let you know that it is powered on and ready to go. Once you start rolling the scanner down the page, the LEDs will turn off, but the scanning indicator LED on the outer left edge will glow Green. You’ll know you’re rolling too fast if a Red LED on top starts blinking. Typically 8.5 x 11″ sized documents take 4 seconds @ 100 dpi resolution and approximately 8 seconds @ 200 dpi resolution to scan.
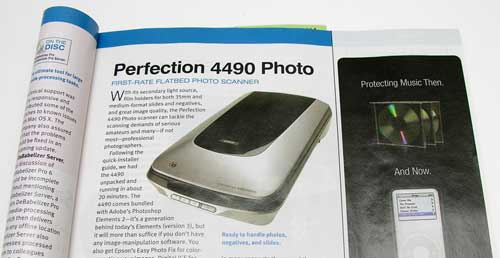
Once you have scanned the entire page (up to 36″ long in one scan), the LEDs on top will blink as the scan is saved to memory. When the LEDs turn off, the operation is complete and you’re ready for the next scan. The DocuPen handheld scanner can store up to 100 pages (8.5 x 11 sized text based documents) in its 2mb of internal flash memory. To download the pictures to your computer, you connect the USB cable and launch your desired imaging application. If you’re a Windows person, an application called PaperPort is included on the installation CD. This software from ScanSoft is OCR software that interfaces with other applications such as Outlook Express, WinFax, Notepad, Adobe Photoshop, Microsoft Word, PowerPoint, Excel and others. Users can make changes to their scanned documents with editing tools that allow them to crop, rotate, highlight text and draw with a freehand too.
In my case, I used Photoshop for the Mac. Choosing Import and then the PenTwain DS option, I’m prompted to turn on the scanner. Once I press the button on top, the download automatically begins. The transfer rate will depend on the number of pages in memory, typically it will take approximately 3-5 seconds per page with USB 2.0.
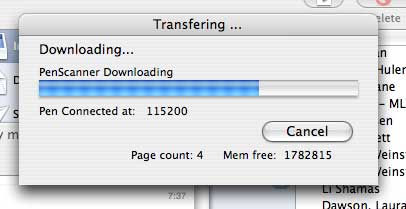
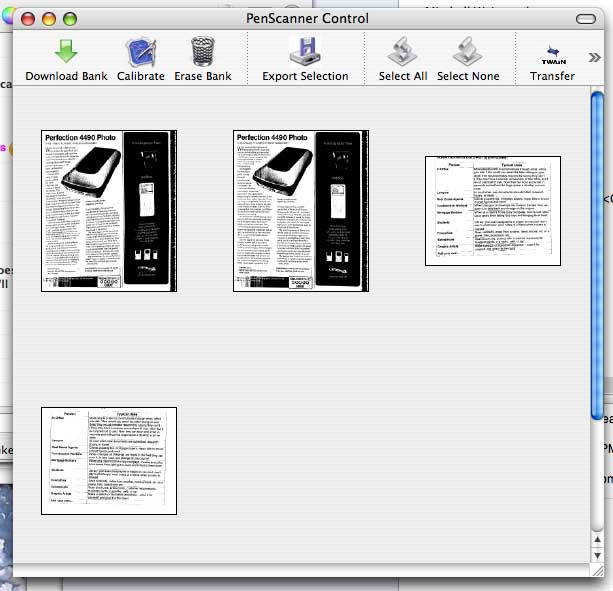
After the download is complete, thumbnails of the scans are displayed. From here, you can either export them as a .TIF file, or Transfer them as a new image into Photoshop. I did the latter.
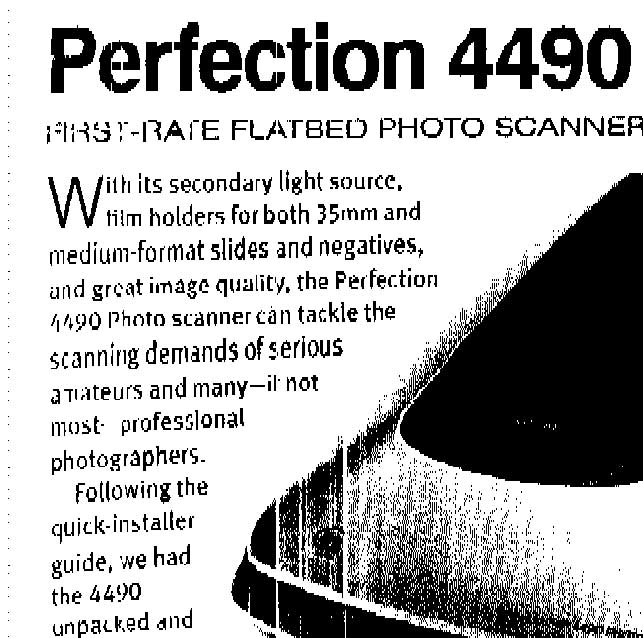
Below you will see a section of one of my early attempts to scan the magazine article shown in the image above. You can see that the text seems to be running uphill a bit. It’s very important to keep the scanner level and straight up and down when you’re rolling it down the document. This takes practice and as they say, practice makes perfect. This scan was also at 100 dpi.
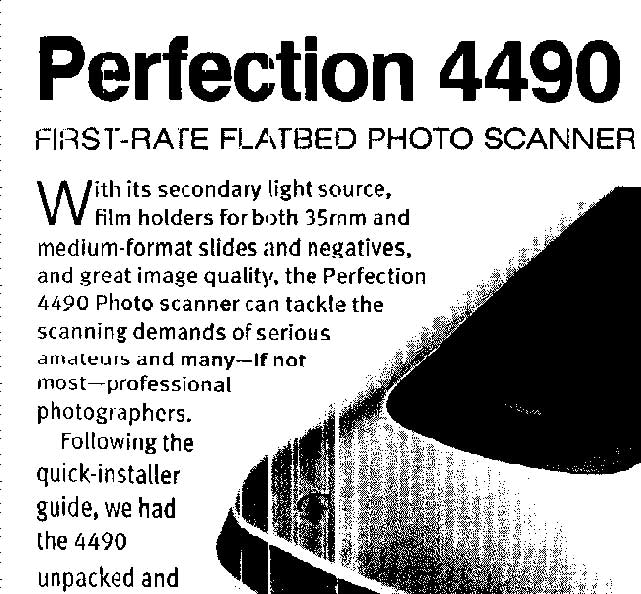
After several practice attempts, you can see that I was able to get a better scan with the image below. This one was scanned at 200 dpi. I’m not sure that the difference in dpi is all that noticeable though… at least to me.
All scanned data in the DocuPen will remain in the flash memory until the user decides to erase it from the handheld scanner. This is done using the PaperPort application (Windows), or through the PenTwain DS interface on the Mac. Unfortunately, individual scans cannot be erased. It’s an all or none operation.
The biggest issues that I have with the DocuPen are the fact that it is not a color scanner and that it doesn’t scan images very well at all. The graphics that it scans are either Black or White. There is no greyscale. But for text, it works well enough to be a useful addition to any gear bag. That is if you have $200 that you want to spend on one. I do see that PLANon has a newer version of this scanner available for sale: the R710 Professional. It appears that the only difference between it and the 700 is an increase in flash memory (it can store 200 scans) and it is Black instead of Silver.

No comments:
Post a Comment